
It’s no secret that as cars get older, stuff needs to be done. While driving recently someone stopped me to say my brake lights weren’t working. Definitely not cool and totally dangerous. What I came to discover was that in the daytime, they would not work at all. None of them, not even the third brake light at the top of the hatch. However at night, when you turn the headlights on, the top third light worked fine. Tail lights always worked too, they just didn’t get brighter like they should when you step on the brake pedal.
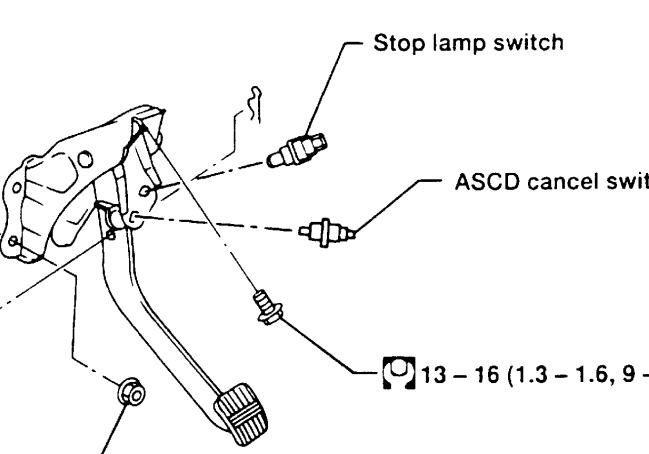
The culprit turned out to be a simple fix. The factory brake switch had gone bad. After 10 years its to be expected I guess. This switch is mounted to a bracket above the brake pedal, under the dash. Kneel on the ground with the door opened and its simple to see. The switch itself is around $36 at the dealer (we sell em for $18 if you need one). You will see two sets of plugs. The brown colored one is the ACSD switch which is for cruise control and some other functions. The black one above it is the brake switch. It’s a simple device. There is a pin in the center of the switch. Step on the brake, the pin is released, and the brake lights illuminate. Release the brake, the brake pin is depressed and the brake lights are off. Imagine how many times this pin has gone back and forth during its lifetime, and its no surprise that eventually it needs replacing.
While kneeling on the ground grab the switch with your hand and turn it counterclockwise 45 degrees. This will unlock the switch from its holder. Once removed, depress the tab on the top, and the switch is separated from the wiring harness. Plug the new switch in, insert into the plastic locking grommet in the bracket, turn 45 degrees clockwise and viola, you’re done. It literally takes 45 seconds to do.


Leave a comment