
This will give you a step by step rundown on how to clean your suede steering wheel. The wheel shown in this entry is a Momo Mod 88. Less than a year old but with about 7500 miles on it. No gloves used..just bare hands. And that’s why we are here. Human bodies contain oils and we are always sweating it out to a certain extent. Suede is a terrific material for racing wheels because it provides better grip than standard leather. But it requires more upkeep as well. Suede gives that “Motorsport” look which is why it’s so popular.
Lets get some details out of the way.
1. This instructional entry is for Momo wheels. I suspect it would work similarly on Sparco, OMP, Personal as Nardi wheels too, but have not tried it first hand. All these wheels are made in Italy and are top shelf. I’ve got a feeling materials are sourced from similar places.
2. Suede is a form of leather. It’s a natural material. It is not the same as Alcantara which is a synthetic material. It’s not the same as microsuede or ultra suede. Many people seem to use these words interchangeably, but there are different an this procedure very well could ruin them. Try it at your own risk.
Onto the good stuff. When new, suede is very soft and plush. It stays cooler to the touch in summer than normal leather, and is nice and grippy. But it doesn’t like sweat, moisturizer, dirt or grime. Over time, it can become matted down. It starts losing its plushness and takes on a shiny, hardened quality. To extend the intervals between heavy duty cleaning like we are going to embark on, pick up a maintenance kit from Timberland. It’s like $10, and comes with a soft bristle brush and an eraser. It works great and you’ll never need to replace it.
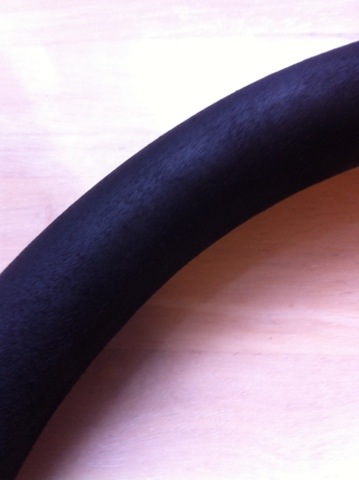
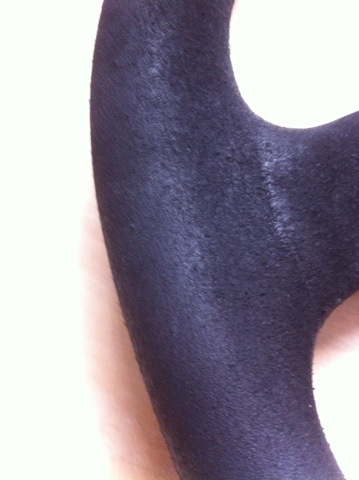
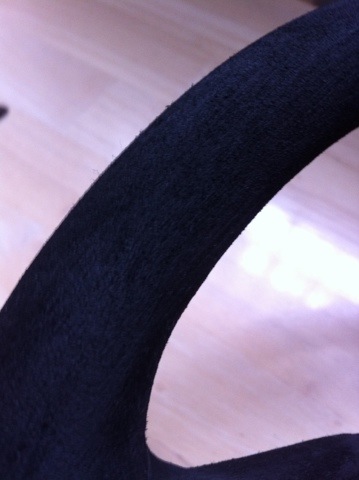
If the wheel has taken on that shiny, flattened look, you’ll need to tackle it with a harder core approach.
This is what ours looked like:
What you will need:
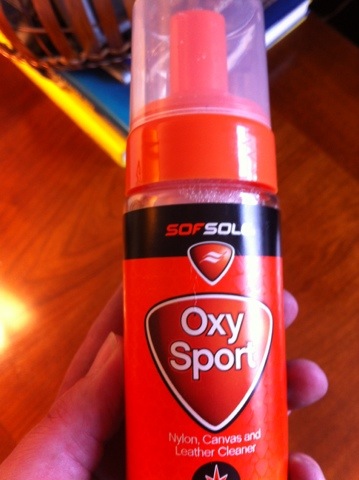
1. Canvas/suede cleaner. I used this stuff, purchased at Foot LockerI think
2. A clean, dry towel
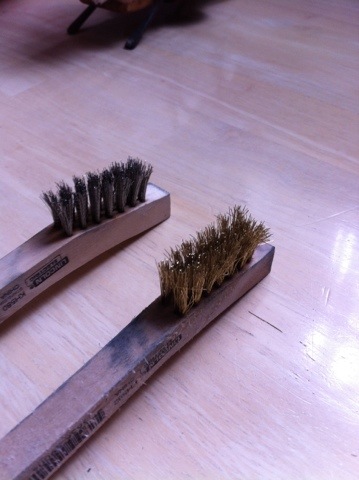
3. Wire brushes – depending on how bad the wheel is you may want the softer brass and stiffer silver ones. Home Depot, couple bucks each.
These are mine:
4. A sink with warm water. I know…but it works
5. Clean bowl of water
Start by vacuuming the wheel run. This will remove any dust and light dirt. Next, holding the wheel at the spokes, take the cleaner and put it right on the suede rim. The stuff I used comes out as a foam. Using the wire brush (I used the silver for mine), work it into the suede in a variety of patterns. I suspect a stuff bristled brush could work too or even a new toothbrush. Back and forth, up and down, small circles. A light touch is best so you dont remove material. Do a small section at a time. This process took me about 20 minutes to do the whole wheel. Make sure to get the front and back, and the stubby section where your thumbs naturally rest on too. After each section, swish the brush in the bowl of clean water. You will see it turn black as dirt is removed. I divided the wheel into 3rds, and used fresh clean water as I did each section. This way I didn’t swish the dirt back into other sections of the wheel.
Next, get to your sink and turn on the warm water. Using some dish soap, clean the wire brushes completely and set it aside on a towel. You will be using it later. With the sink water still warm, grab your wheel by the center. I know, it sounds like you're about to RUIN your $300 wheel. But you won't. I found the spray attachment of my kitchen sink to be really helpful? but a standard faucet will work just fine. Holding the wheel by the center spokes, rinse the entire rim with warm water. You will see the dirty water rinse away along with the cleanser that was absorbed into the rim. As you move sections you will see the rinsed water become clearer and clearer, indicating the dirt is no longer embedded.
Next, grab your wire brush. If you used the stiffer silver one to clean, then use the brass one here. That's what I did. Brush around the wheel, taking note of how your brush strokes affect the nap.
You're bringing the texture back in this step and shedding water away at the same time. Go gently, no need to scrub it. I spent a good 10 minutes at this step. I then cleaned the wire brush, blotted it on a towel and set it down.
Them, grab a separate clean towel. Gently blot around the entire wheel to soak up more of the water. Go all around the wheel, underside, back, everywhere there is suede. Next, back to the wire brush and again pay attention to what directions being the nap back. Just gentle strokes, you don't have to press hard. The brush does the work, not your arm!
Final step, set the wheel down to dry. I used one of my bathroom countertops, as I could rest the wheel there without the rim touching. The bathroom also has a heater vent in it and a fan, which should speed the final drying process. I let it sit the rest of the day, to make sure it was good and dry before my hands touched it and reinstalled to the car.
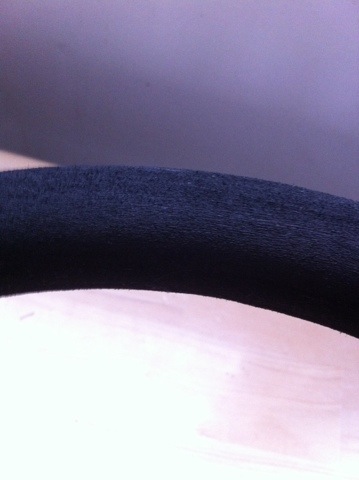
The finished result:
A nice deep black color, soft plush nap, and a wheel that looks good as new!


Leave a comment